
Sunday, September 5, 2010
King Cobra Braid Lanyard
Friday, September 3, 2010
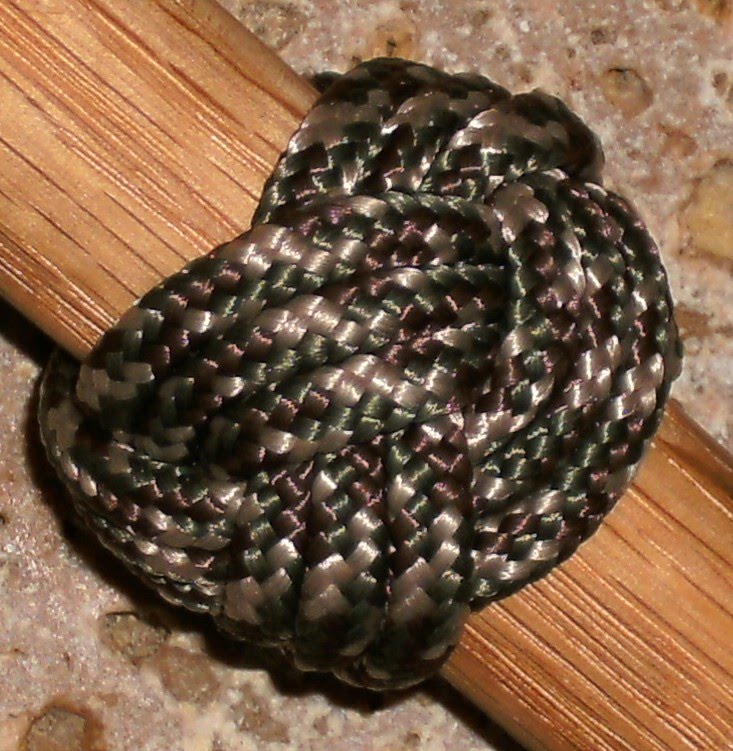
Rattle Snake Key Fob

Wednesday, September 1, 2010
Paracord Ladder Strap Lanyard
 While a lanyard is usually used as a strap to hold onto something this one was made to distinguish one gym bag from another. My son is starting Middle School and was concerned that his bag looked like everyone elses and he or someone else might grab the wrong bag. The solution, a brightly colored Ladder Strap tied around the handle of the bag. This same idea could be used for many other things to identify yours from others. Think about picking up your bags at the airport, wouldn't it be eaiser if your bag had a bright strap on it somewhere! The design takes about 6 feet of paracord and can be learned quickly by watching the video at Tying It All Together. The two hanging ends of the cords are finished off with Celtic Button Knots and the attaching ends are tied in an overhand knot around the strap on the Gym Bag. A simple solution to ease one of the worries about starting Middle School.
Monday, August 30, 2010
The River Bar Bracelet
 This fashion statement uses 6 feet of paracord to make a River Bar Bracelet that looks good and gives you some paracord wherever you might need it. This bracelet might not qualify for a true Survival Bracelet since the two colors are seperate pieces of cord and the Lanyard knot at the end would be quite difficult to untie should you wish to but either way, it looks cool and in a have to situation your knife would quickly get it apart. The bracelet was made by following JD's YouTube Video except that I decided to finish it off differently and tied Lanyard Knot rather than a simple overhand knot to give it more bulk and make the closure more secure. A good technique to learn to tie the lanyard knot is taught by Tobias at Home Made Gifts Made Easy, after using his technique a few time the lanyard knot becomes very easy to tie.
Monday, August 16, 2010
The Woodbadge Woggle
 |
| The Turks Head Knot a.k.a. Woodbadge Woggle |
This knot seems to be complicated to tie yet is simple once the technique is learned. I have studied many tutorials attempting to learn to tie this knot but until finding SelfMadeSailor's tutorial on YouTube had no luck. I watched the video and after several practice runs am now becoming quite proficient.
This is a very versitle knot that in this form can be used to cover and decorate coxcombs, make bracelets, hat bands, and more. One end of the knot can be closed up to make ends for a tube, tool handle coverings, and the like. It can even be tied flat to make placemats, coasters, and rugs. It can even be closed on both ends to make spherical shapes. Expect to see the Turks Head many more time throughout this blog.
Friday, August 13, 2010
Uses for Parachute Cord (Paracord)
Some uses for Paracord are:
- Ridgelines for Tarps, etc...
- Shoe & Boot laces
- Tie Downs
- Repairing Equipment
- Making a Fire Bow
- String for a Bow
- Shelter Making
- Fish Nets
- Snares & Traps
- Binding
- Restraints
- Tourniquets
- Zipper Pulls
- Guylines
- Trail Marking
- Kite Surfing
- Boating
- Fishing Line
- Sewing Fabric Together
- Emergency Stiches
- Dental Floss
- Whipping the Ends of Rope
- Lashing an Arrow Head to an Arrow or Spear
Adjustable Figure 8 Paracord Survival Bracelet

This small bracelet takes only a few minutes to braid, makes a fashion statement, and is a handy way to carry 5 feet of parachute cord with you anywhere you go. Hopefully it never happens but should you ever find the need for the cord it only takes a moment to unbraid the bracelet and presto you have cord for your needs.
I followed JD's YouTube Video at Tying it All Together to create this Adjustable Bracelet and while this doesn't maximize the length of paracord it is an easy beginner project and should not take you long to learn. This is a simple figue eight braid with enough cord left on each end to tie overhand knots around the opposite end thus creating the adjustable slide that brings the bracelet together.
I started with about 5 1/2 feet of cord and began the braid near one end. Once the braid was completed I tied the overhand knots that create the slip fit, trimmed the ends, and it was complete.
Subscribe to:
Comments (Atom)